Quick Start Guide
Setting up generate-metadata in your Tanstack Start application
Prerequisites
- TanStack Start 1.0+
- generate-metadata installed (
npm install generate-metadata) - DSN from generate-metadata.com
- API key for authentication (optional but recommended)
Environment Configuration
1. Add Environment Variables
Create or update your .env.local file:
2. Create Metadata Client
Create a shared client instance.
The serverFn is optional but recommended in order to enable certain features
such as automatic page creation in the dashboard.
Setup Pages
Root Layout
The root layout metadata is used to populate default metadata/fallbacks for all pages.
Static Pages
To install on a page with a static path, simply provide the path option.
Dynamic Pages
For dynamic page paths, you will need to construct the path using route parameters.
Build and Deploy
That's it! 🎉
The next time you build and deploy your Tanstack Start application, the Generate Metadata dashboard will automatically be populated with all of the pages you have set up. You may manually fill in the metadata or let the AI generate it for you.
If you make changes to your content, you will need to redeploy your site. For instant updates, you can set up the Automatic Revalidation step below.
Automatic Revalidation (optional)
The revalidation handler will automatically refresh the metadata cache when your content changes through a webhook.
This will not work in SPA mode.
Webhook Handler
Create the webhook server route:
Keep your webhook secret secure. Never expose it in client-side code or public repositories.
Once you have the handler set up, go ahead and deploy it. Once deployed you can move onto configuring the webhook
Set Up the Webhook
The last step is telling Generate Metadata where to send webhook events to.
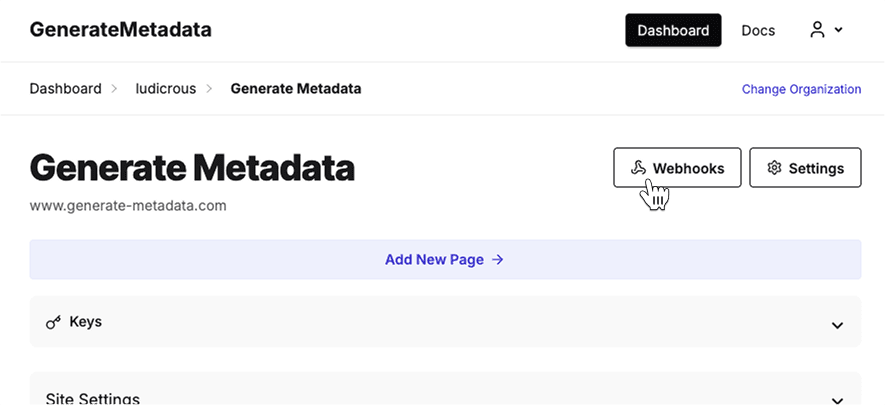
First in the dashboard for your site, head over to the Webhooks page.
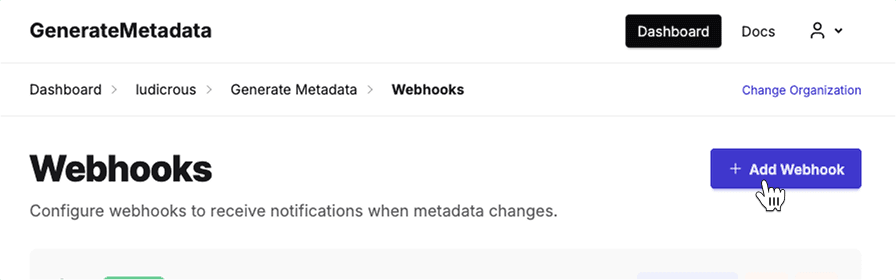
Then click "Add Webhook" to create a new webhook.
Give the webhook a name such as "Production Webhook". If you named placed the route handler in routes/api/generate-metadata/revalidate.ts and your site name matches, you can leave the URL as the default setting.

Click save and you're done!
Verify the Webhook
To verify that your webhook has been set up correctly, change the metadata for a page in the dashboard and save it. You should see the new metadata immediately reflected on your site. You can also see more details about requests made to your webhook in the Webhook details page.